
There are different ways to install WordPress plugins, it’s like adding superpowers to your website, allowing you to customize, optimize, and expand its functionality with ease. However, with multiple methods available, it’s essential to understand the various ways to install these plugins.
Whether you prefer a straightforward approach using the built-in Plugin Directory or a more hands-on method involving FTP, this guide will walk you through the different installation techniques, empowering you to enhance your website’s capabilities and create a tailored online experience that aligns perfectly with your vision.
So, let’s dive into the world of WordPress plugin installation and unlock the potential to take your website to new heights.
Method #1: Using the WordPress Plugin Directory
The WordPress Plugin Directory primarily focuses on hosting free plugins available to all users. These plugins are developed by a diverse community of developers, contributing their creations to enhance the WordPress ecosystem.
To get benefit from this plugin directory, let’s see the methods to install from here.
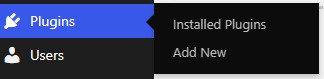
Access your WordPress Admin Dashboard by logging in to your website. Then navigate to the “Plugins” section on the left-hand side menu and click on “Add New” to access the WordPress Plugin Directory.
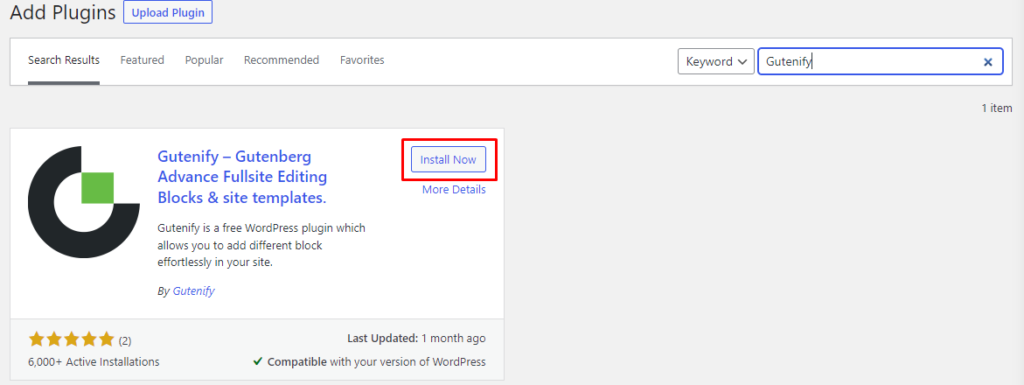
Search for the desired plugin using keywords or browse the featured, popular, or recommended plugins.

Once you find the plugin you want, click on the “Install Now” button.
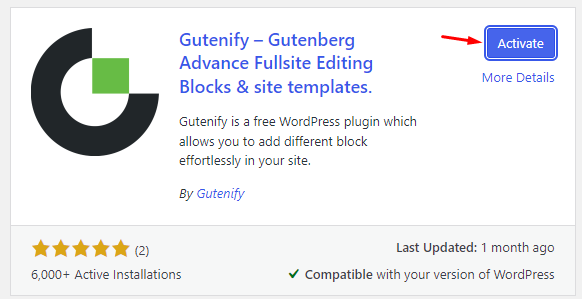
After installation, click on the “Activate” button to activate the plugin.
In the end, you can configure any necessary settings for the plugin if required.
Method #2: Installing Plugins via the Upload
In the previous method, we installed a plugin by searching a keyword from the repository now, we will learn to upload it correctly.
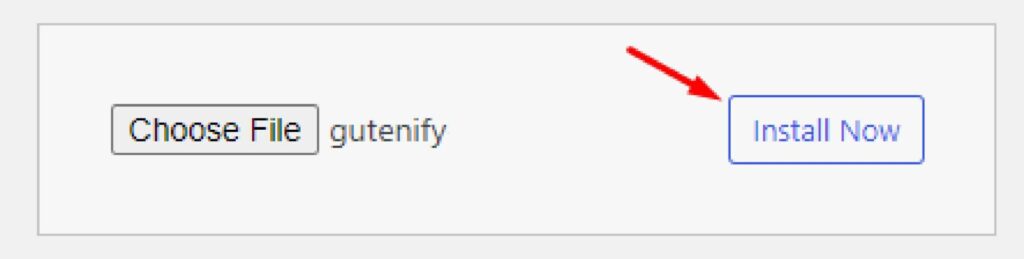
Instead of searching for a plugin, click the “Upload Plugin” button.

Choose the plugin file from your computer by clicking on the “Choose File” button.
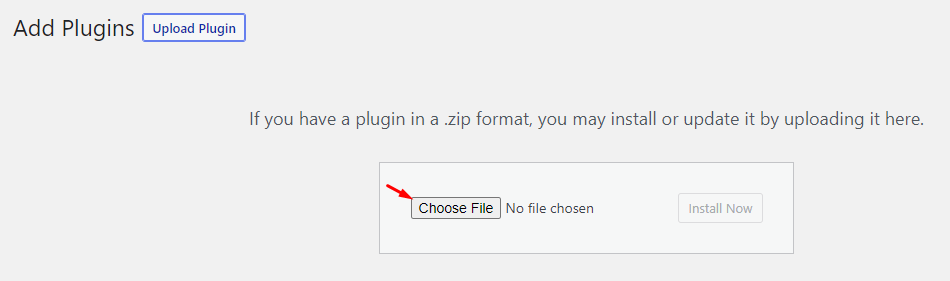
Click on “Install Now” to upload and install the plugin.
Now the process would be the same to activate the plugin after installing and configure any necessary settings if you want to do.
Method #3: Manual Installation via FTP (File Transfer Protocol)
Manual installation of a WordPress theme via FTP (File Transfer Protocol) is worth considering. To assist you, we have prepared a comprehensive step-by-step guide on how to proceed with this approach:
Download Plugin Files
To begin, download the theme files from a reliable source and save them on your computer. Ensure that the theme files are in the compressed .zip format. Next, extract the contents of the downloaded .zip file, which will generate a dedicated folder containing all the necessary files for the theme.
Login to Your Site’s Cpanel
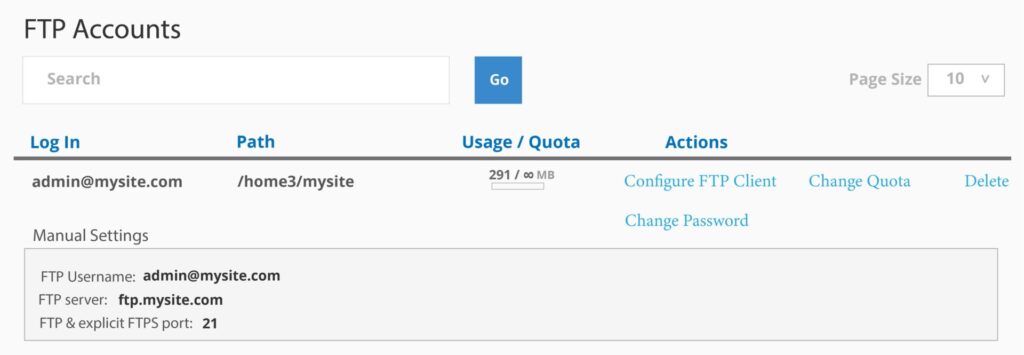
Log in to your site’s cpanel and navigate to the “FTP Accounts”.

Then you may create a new FTP account by entering the details. After creating the FTP account, you will see a table displaying the account details.
Take note of the FTP server hostname, username, and password. You may also find the port number listed. These credentials will be used to connect to the FTP client.
Install an FTP Client Server
If you don’t have an FTP client software installed on your computer, choose one and download it. FileZilla, Cyberduck, and WinSCP are popular choices. Now will be utilizing FileZilla you can use any other FTP client.
Enter Credentials
Connect to your website using an FTP client by entering the above-noted credentials.

Now, after clicking the “Quickconnect.” button, you’ll see a successful dialog with some folders.
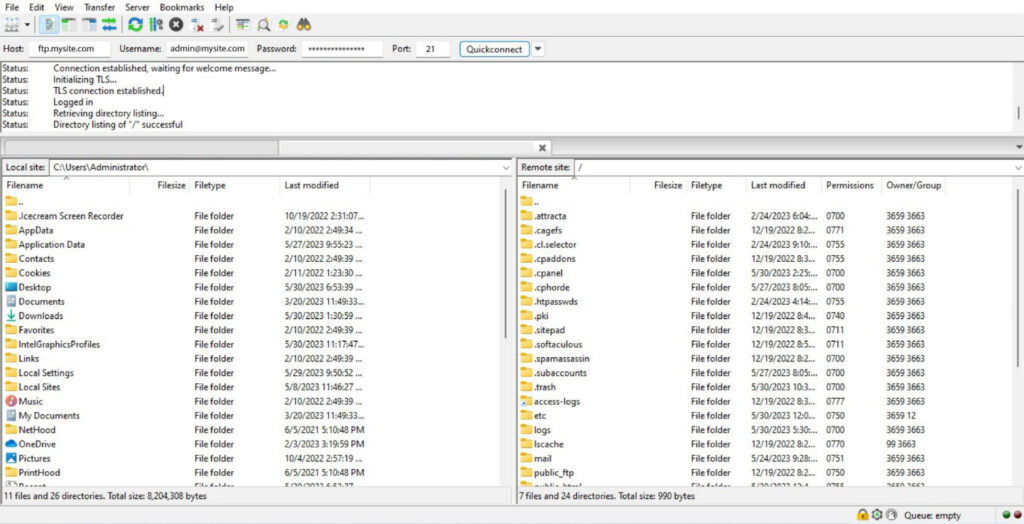
Here you can see the server’s file directory in the FTP client. Locate the “public_html” or “www” folder and open it. Inside, find the “wp-content” folder and open it as well. Within “wp-content,” locate and open the “plugins” folder.
Drag & Drop Plugin File
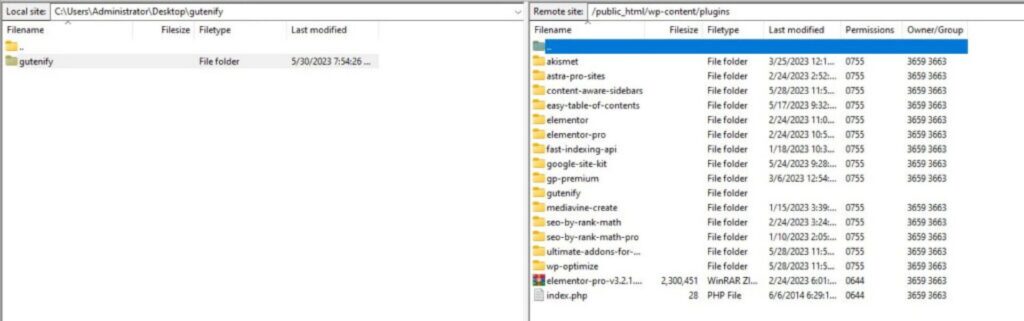
In the “plugins” folder, find the WordPress plugin extracted folder. Drag and drop the plugin file from your “local site” option on the left side to the right in the “remote site.”
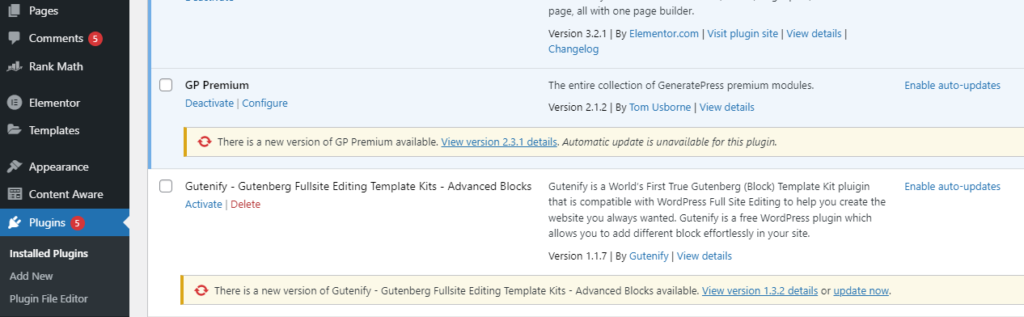
I installed “Gutenify” in my plugin’s section, as you can see.
After uploading, go to your WordPress Admin Dashboard to activate it.
Now you can configure any necessary settings for the plugin if needed.
Bottom Line
We sincerely hope this guide has proven to be a valuable resource. By providing insights into the different ways to install WordPress plugins, we aim to empower you with the knowledge and confidence to enhance your website’s capabilities.
Whether you are a beginner or an experienced user, we believe that understanding these installation techniques will enable you to tailor your WordPress experience according to your unique requirements. Please don’t hesitate to reach out if you have any further questions or need assistance.
Leave a Reply