
Do you want to know the method of creating a child theme In wordpress? So, you can modify your website’s theme without risking any changes to the original design.
You’ve come to the right place.
In this blog post, we will dive into the concept of creating a child theme in WordPress and discover how they can provide a safe and efficient way to customize your website’s appearance and functionality.
What is a Child Theme in WordPress?
A child theme is like a “mini-theme” that takes all the features and design elements from its parent theme. The parent theme is the main theme you choose for your website. Utilizing a child theme allows you to modify your WordPress website’s appearance and functionality without directly editing the parent theme files, ensuring that your changes remain intact even when the parent theme receives updates.
Why do we need to use Child Theme?
Using child themes in WordPress offers several advantages. First, they allow you to preserve your customizations even when the parent theme is updated, ensuring your changes are not lost.
Second, child themes future-proof your website by isolating your modifications from the parent theme, making it easier to switch to a new one without losing your customizations.
Third, organizing your custom code in a child theme simplifies maintenance and reduces the chances of conflicts with theme updates or plugins.
Additionally, child themes can be reused across multiple websites that share the same parent theme, saving time and effort. Child themes provide a safe environment for learning and experimenting with WordPress theme development.
Now that we understand the concept of a child theme let’s proceed with a step-by-step guide on how to create one.
By following these steps, you’ll be able to unlock the full potential of WordPress customization while maintaining a secure and stable website.
Two Ways to Create a Child Theme
There are two ways to create a child theme, let’s explore both individually.
- Create a child theme using code
- Create a child theme using the plugin
Method no #1: Create a Child Theme using Code
Step 1: Create a New Folder
When creating a child theme, it’s essential to name the newly created folder to reflect its relationship to the parent theme. For instance, if you’re using the “Gutenify-Base” theme on your WordPress website and want to create a child theme, you would name the folder “Gutenify-Base-child.”
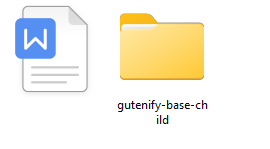
This naming convention indicates that the folder is designated as a child theme of the gutenify base theme. Following this naming convention ensures that the child theme folder is easily identifiable and associated with its parent theme.
Step 2: Create a Stylesheet File:
Start by creating a new file named “style.css” inside the child theme folder. This file will define the child theme and override the parent theme’s styles. Open the “style.css” file in a text editor and add the following code to it:
/*
Theme Name: gutenify-base-child
Theme URI: https://wordpress.org/themes/gutenify-base/
Author: CodeYatri
Author URI: https://wordpress.org/
Template: gutenify-base
Description: Child Theme of gutenify base
Version: 1.0.6
License: GNU General Public License v2 or later
License URI: http://www.gnu.org/licenses/gpl-2.0.html
Tags: one-column, custom-colors, custom-menu, custom-logo, editor-style, featured-images, full-site-editing, block-patterns, rtl-language-support, sticky-post, threaded-comments

Text Domain: gutenify-base-child
This theme, like WordPress, is licensed under the GPL.
Use it to make something cool, have fun, and share what you've learned with others.
*/
After creating the child theme, compress this folder into a zip file and upload it to your WordPress theme directory. Now it will appear in the list of available themes. You can now activate this child theme for your website.

Create PHP File
To ensure that parent and child theme styles are loaded correctly, you need to enqueue the stylesheets. Create a “functions.php” file of your child theme and add the following code:
<?php

add_action( 'wp_enqueue_scripts', 'enqueue_parent_styles' );

function enqueue_parent_styles() {

wp_enqueue_style( 'parent-style', get_template_directory_uri().'/style.css' );

}
After successfully creating a basic child theme, navigate to the WordPress theme directory and click on the “Activate” button to begin utilizing the child theme on your website.

As no changes have been made to the child theme yet, your website will continue utilizing its parent theme’s functionality and visual aspects. You can now proceed to the subsequent section, where you will customize the child theme according to your preferences.
If modifying the code for a different parent theme is challenging, consider using the plugin method instead.
Create a Child Theme Using the Plugin
Creating a child theme using a plugin is straightforward. Here’s a step-by-step guide to help you:
Choose a Suitable Plugin
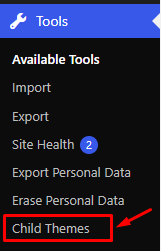
Look for a reliable and popular WordPress plugin that enables you to create child themes. Some popular options include “Child Theme Configurator” and “One-Click Child Theme.” After activating the plugin, you typically find a new menu option or submenu under “Appearance” or “Tools” in your WordPress admin dashboard. Click on it to access the plugin settings and create your child theme.
You will usually find a button or option of “Analyze” to generate a new child theme in the plugin settings. Click on it to begin the child theme creation process.

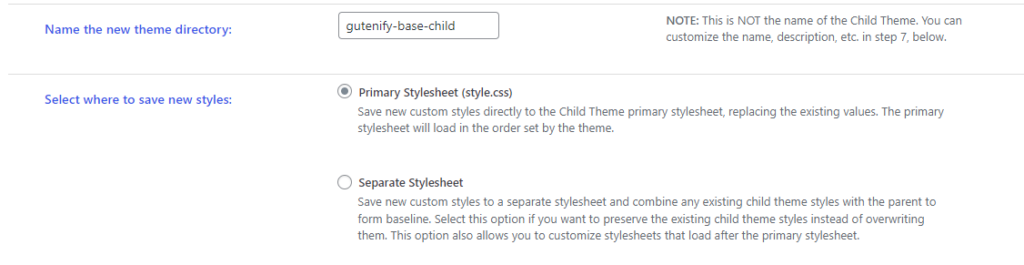
In the next step, you will be prompted to name the folder where the child theme will be stored and select the location for saving the styles. Sticking the default settings provided by the plugin is generally recommended.
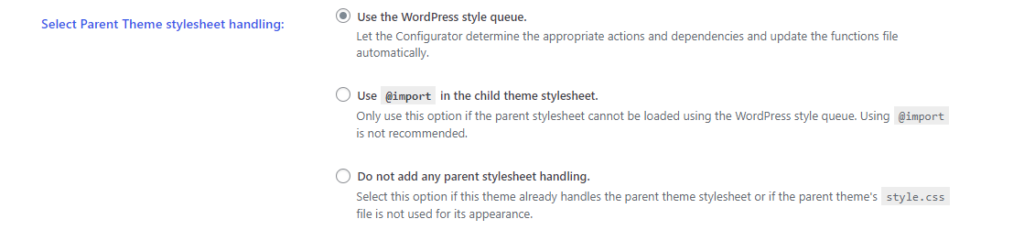
In the next section, you will be prompted to select the method for accessing the parent theme stylesheet. Again we will stick with the default setting as recommended.
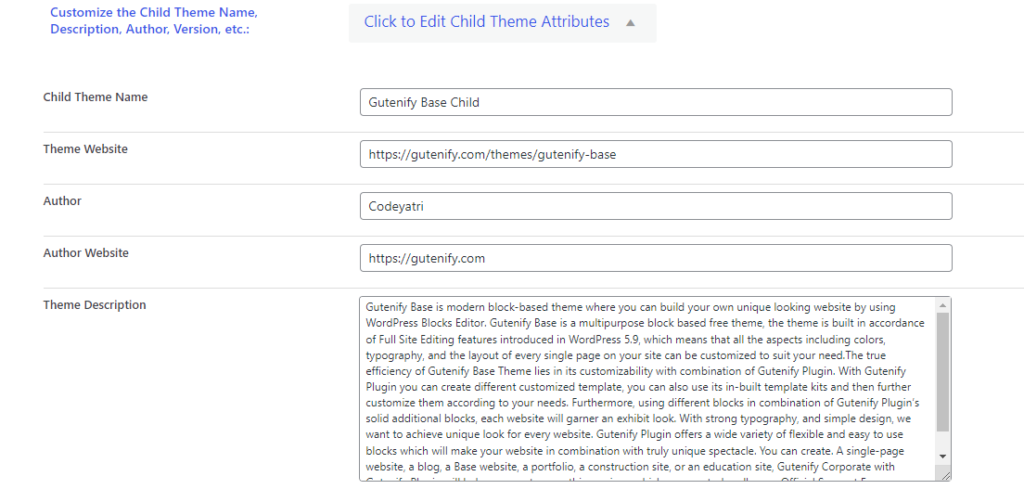
In the next Section, locate and click on the button labeled ‘Click to Edit Child Theme Attributes.’ This action will allow you to provide the necessary details for your child’s theme by filling in the relevant information.
When manually creating a child theme, you may lose the menus and widgets from the parent theme. However, with the Child Theme Configurator plugin, you can preserve them in the child theme. Simply check the designated box in the plugin’s settings if you wish to retain the menus and widgets from the parent theme in your child theme.
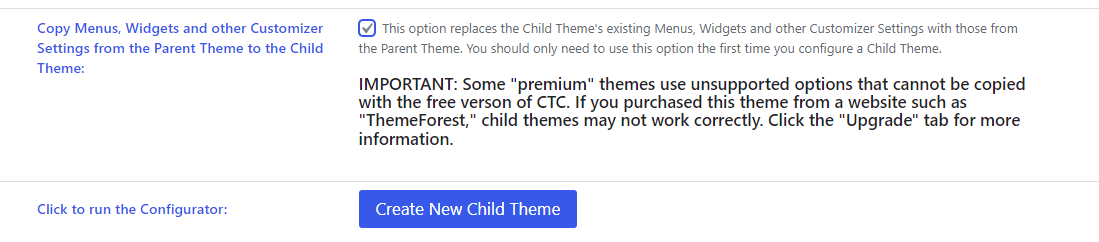
Once you have made the necessary configurations, click the “Create new child theme” button to initiate the creation of your new child theme. The plugin will automatically generate a dedicated folder for your child themes and include the essential files, namely style.css and functions.php. These files will serve as the foundation for customizing your theme to your desired specifications at a later stage.

After creating, you’ll get this notification that you successfully created a child theme.
Bottom Line
We have explored creating a child theme in WordPress as well as two methods for creating a child theme in WordPress. Both ways have advantages, and choosing the right approach depends on individual preferences and skill levels. Whichever method you decide to use, creating a child theme is a crucial step in customizing your WordPress theme while ensuring that your modifications are preserved during future theme updates.
Feel free to share your thoughts on these methods in the comments below. We would love to hear your feedback and experiences with creating child themes.
Leave a Reply