
If you want to setup WordPress locally using MAMP, then MAMP is an ideal free, open-source software solution which helps to do your tasks quickly. MAMP (short for Mac, Apache, MySQL, PHP) helps you to quickly create a local server environment on your operating system without any web host, and the best thing is there is no need for any internet connection.
MAMP is an excellent source for WordPress developers and owners who want to test new plugins, themes, features or code snippets or to develop their skills in a safe and secure environment simply.
Now, let’s get the ball rolling from installing MAMP and take a deep dive by launching your local WordPress site step by step.
Step#1: Installing MAMP
To get started with setup WordPress locally using MAMP, follow these steps:
Go to the MAMP website and download the latest version of MAMP for your operating system.
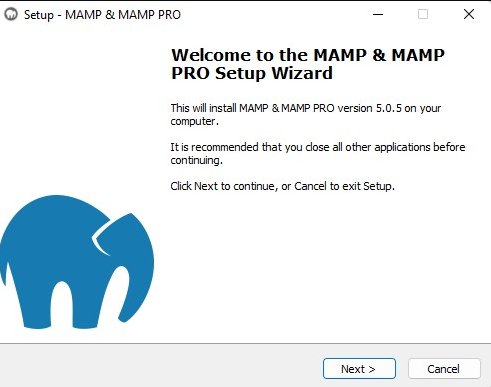
Once the download is complete, open the MAMP installer and follow the instructions to install the software on your computer.
You will be asked to choose the components you want to install during installation. The default settings should work fine for most users, so you can click “Next” or “Continue” to proceed.
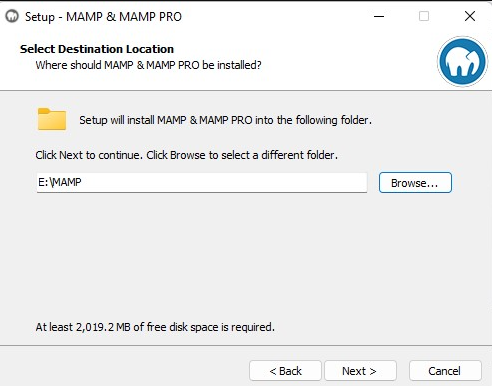
In the next step, you’ll be asked to locate the folder where you want to install and put all its files.
After the installation, you should see the MAMP application icon on your desktop.
If you prefer to use a different tool for setting up WordPress locally? There are other options available, such as MAMP and Docker. If you’d like to learn more about these tools, check out our posts on:
Step#2: Launch the MAMP
Go to your application folder where you saved the MAMP to appear as an application to access it. Then, Double-click the icon to launch MAMP.
Step#3: Set Up the Ports
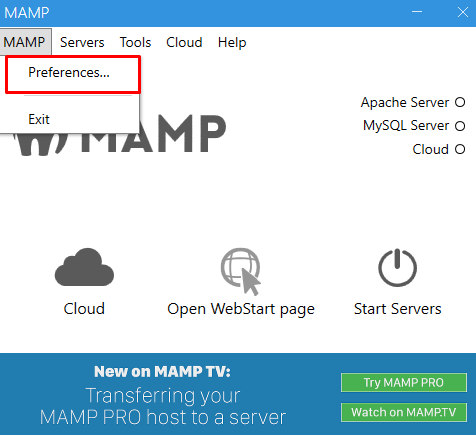
Open MAMP and click the “Preferences” button in the top right corner.
In the Preferences window, click on the “Ports” tab.
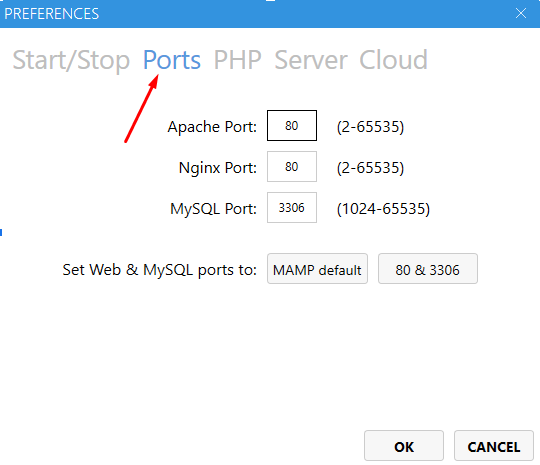
In the “Ports” tab, you can see the “Apache Port” and “MySQL Port” fields. By default, the Apache port is 80, and the MySQL port is 3306.
Step 4: Configuring the Web Server & MAMP Document Root
Now click on the “Server” tab and select the Apache. In the “Web Server” tab, you will see the “Document Root” field. This field shows the current document root directory for your web server. By default, it is set to “/Applications/MAMP/htdocs.”
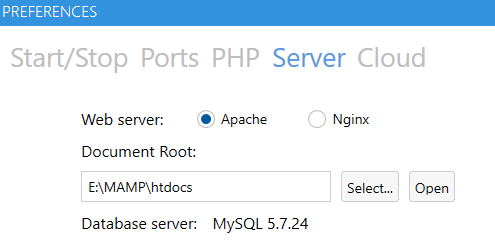
Click the “Select” button next to the “Document Root” field to change the document root. This will open a file browser window. Please navigate to the folder that you want to use as your new document root directory and select it.
Then, Click on the “OK” button to save the new document’s root directory.
Step#5: Start Servers
Before proceeding with any further configurations, ensuring everything works correctly is always a good idea. In MAMP, you can easily do this by clicking on the “Open start page” option in the MAMP box.
If the option is clickable, go ahead and click on it. This should open up a web page that displays the MAMP start page, which includes information about your web server and database server and links to phpMyAdmin and other tools.
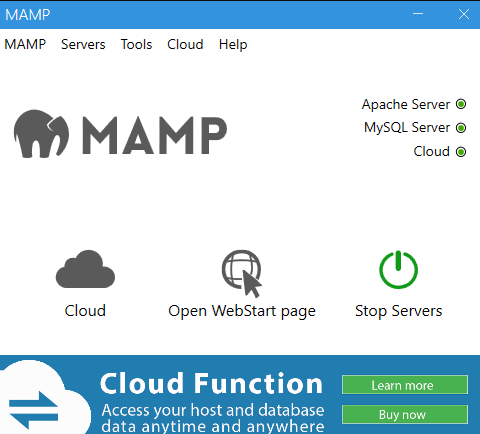
If you cannot click the “Open start page” option, your servers will likely not turn on. In this case, you can start the servers by clicking the “Start Servers” button in the MAMP box. Once the servers are started (indicated by the green lights in the tiny boxes on the top right), you should be able to click on the “Open start page” option and access the MAMP start page.
Step#6: Create a New Database in PhpMyAdmin
Here are the steps for creating a new database in phpMyAdmin when using MAMP:
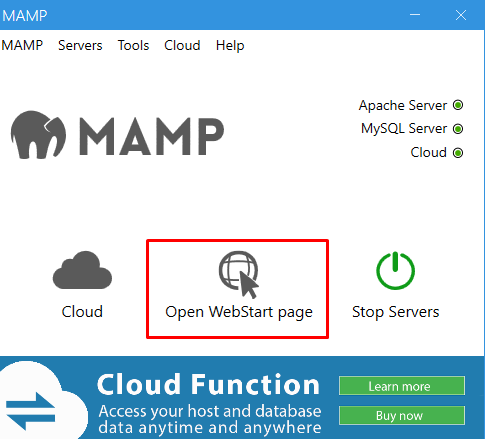
Open the MAMP start page by clicking on the MAMP application icon and clicking the “Open WebStart page” button.
On the MAMP start page, click on the link for phpMyAdmin. This should open the phpMyAdmin interface in your web browser. Now on the tools section, hit on the “PhpMyAdmin.”

Or you can also visit this link to open the PhpMyAdmin dashboard:
http://localhost:8888/phpMyAdmin
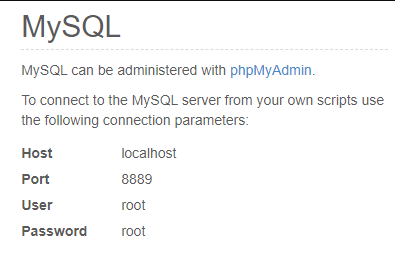
On the MAMP homepage, if you scroll down, you’ll find your MySQL connection details, including your username and password. It’s essential to take note of this information because you’ll need it later when you connect your local database to WordPress. Keep this information handy and secure so you can reference it easily during installation.
Now here’s your PHPMyAdmin; it should look like this:
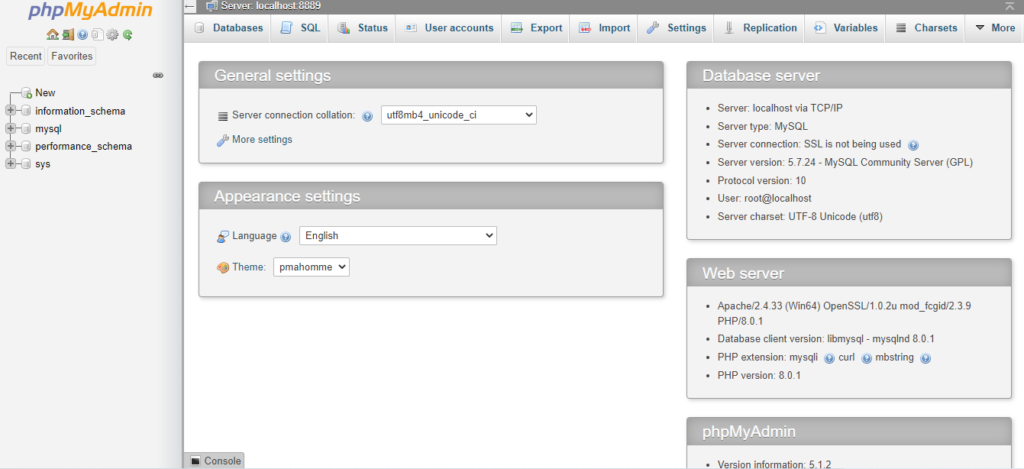
In the left-hand sidebar of phpMyAdmin, you should see a section labeled “New.” Click on the “Database” option in this section.
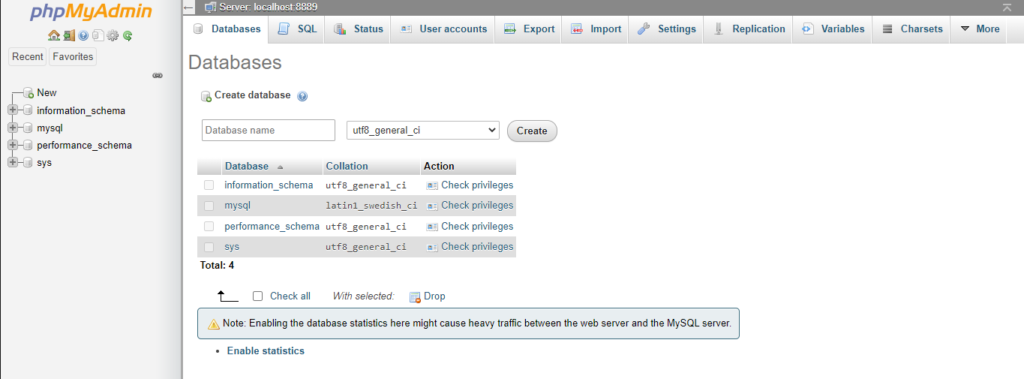
In the “Create database” page that appears, enter a name for your new database in the “Database name” field with the collation to ”utf8_general_ci “. You can choose any name you like, but it’s a good idea to choose a name that’s descriptive and easy to remember.
Such as am going to enter the name “myblog” and click on create.
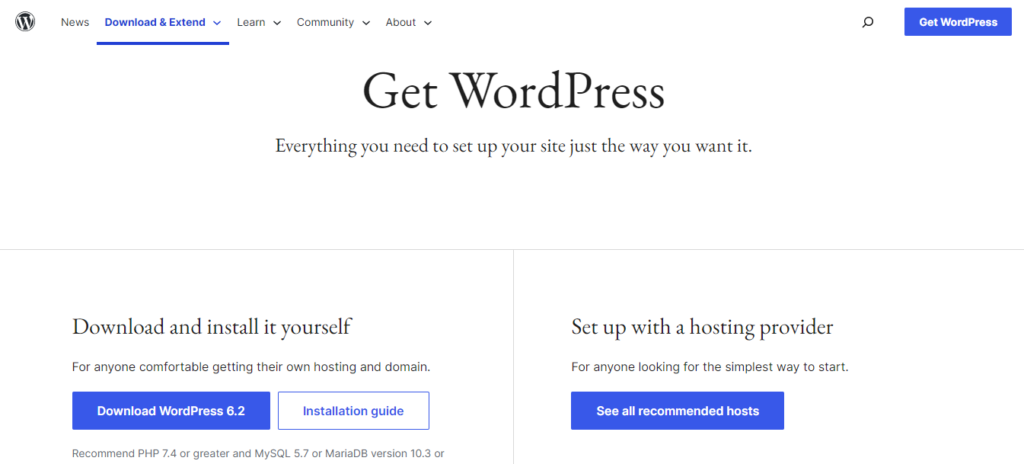
Step#7: Download the Latest Version of WordPress
Download the latest version of WordPress from the official website as a zip file. First, hit on the “Download WordPress 6.2” button. Then the latest version of WordPress will automatically download to your computer.
Now here’s the zip file you will get after downloading:
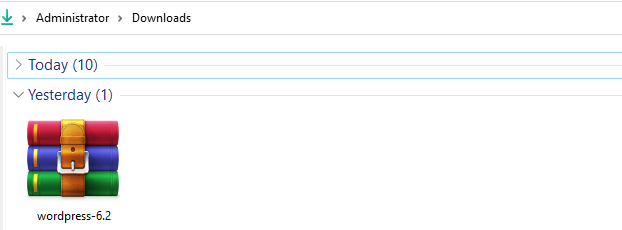
Remember, keep this zip file save because, in the following step, you will extract the zip file to move the extracted folder into the “htdocs” folder in the MAMP directory after installing the MAMP.
Step#8: Move WordPress to htdocs
Now that you have downloaded MAMP remember in the above step where we also downloaded our WordPress zip file now it’s time to extract that and move it into the “htdocs” folder of your MAMP installation. To do this, copy the unzipped WordPress folder and rename it to any name. We will name it “myblog” and navigate to the MAMP folder in your root directory.

It’s important to note that the name of the WordPress folder will be included in the URL of your local WordPress installation.
For example, if you named your WordPress folder “myblog,” the URL would be “localhost/myblog.” You can rename the folder to anything that works for you, which will change the URL accordingly.
Step#9: Install the WordPress
After you’ve set up your database and WordPress files in the “htdocs” folder within the MAMP directory, you can access your local WordPress site by opening your preferred web browser and entering the appropriate URL.
If you’ve followed the steps correctly, the URL should be in the following format: “localhost:{port-number}/{folder-name}.” In the example provided, the port number is “8888”, and the folder name is “myblog.” So, the URL to access the local WordPress site would be “localhost:8888/myblog”.
Type this URL into your browser, and select your desired language from the options provided.
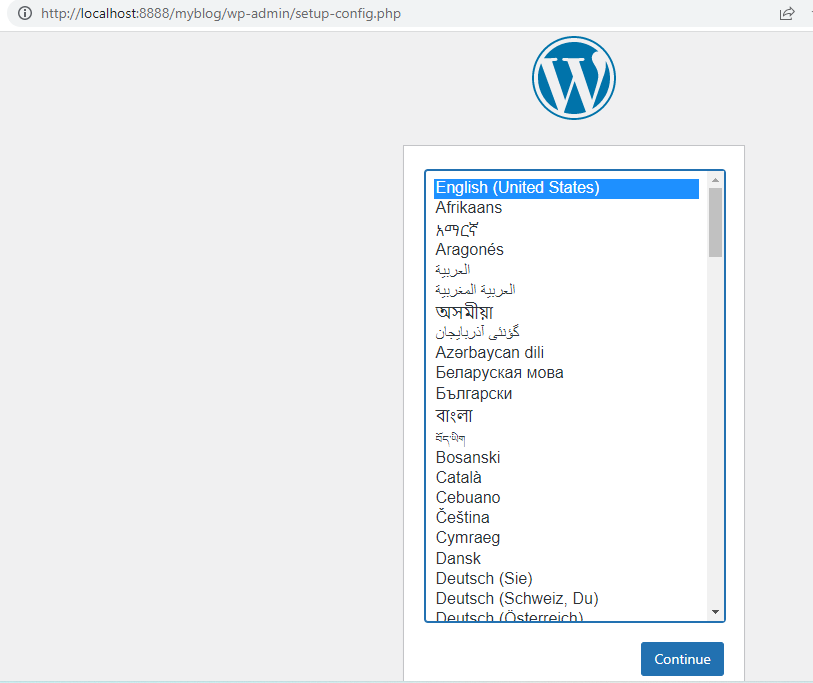
Hit on continue after selecting your language.
Remember that we created the database named “myblog” in our PhpMyAdmin.Therefore, it’s time to tell WordPress about the new database we created so that it can proceed with the installation.
For the database username and password, you can use the default values MAMP sets up, which are “root” for both the username and password. You can enter “root” for both fields if you haven’t changed these default values.
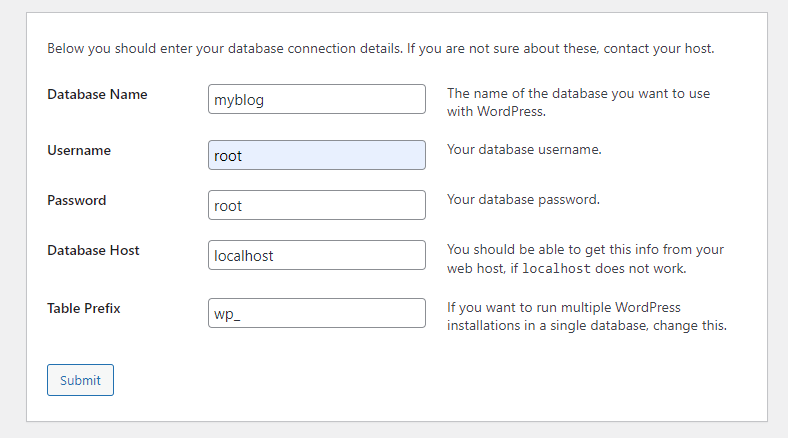
The other fields can be left as they are, as the default values should work fine for most cases. Once you’ve entered the database name, username, and password, click the “Submit” button to proceed with the WordPress installation.
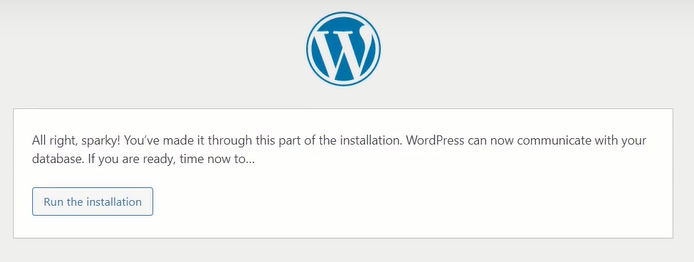
Hit on “Run the Installation.”
Enter your email address’s site title, username, and password to install WordPress.
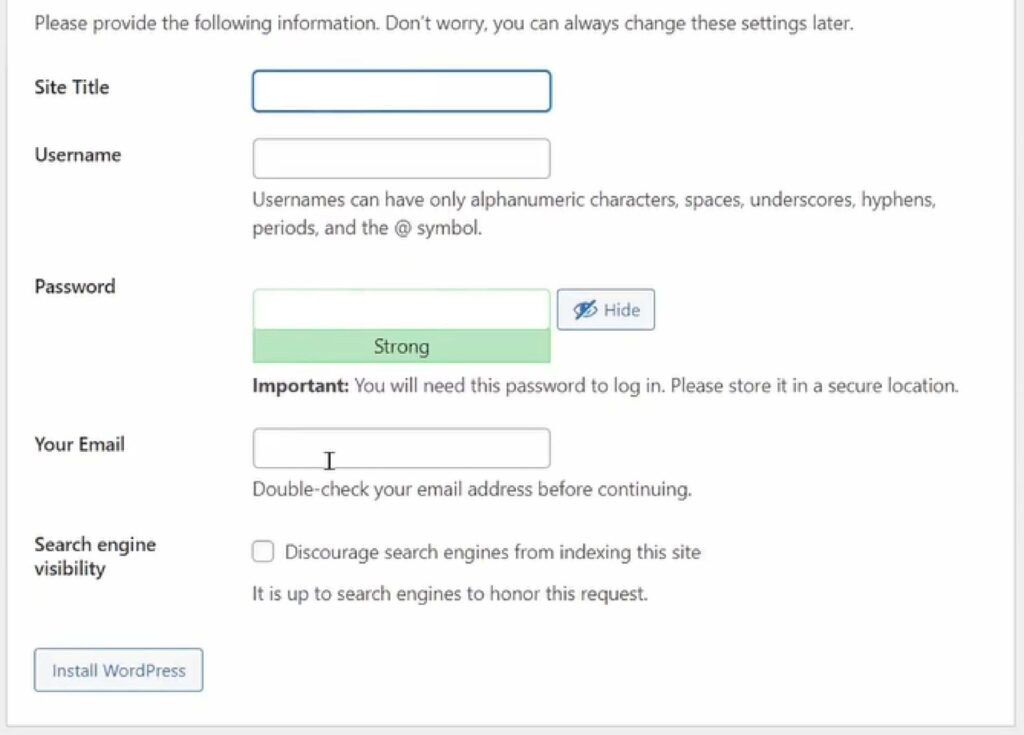
Now we have installed our WordPress successfully.
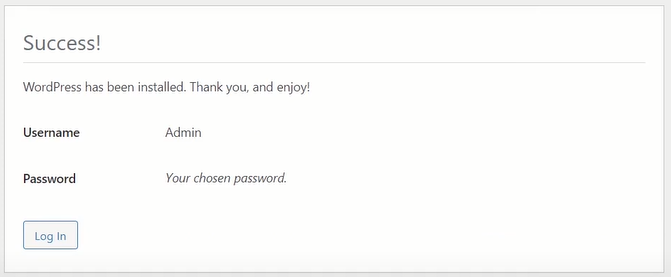
Step#10: Log In to Your WordPress Site
Hit on “Log In” and enter the username and password there.
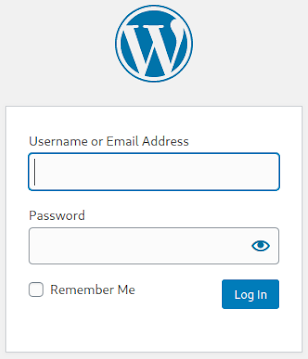
In a few seconds, you will be redirected to the WordPress dashboard.
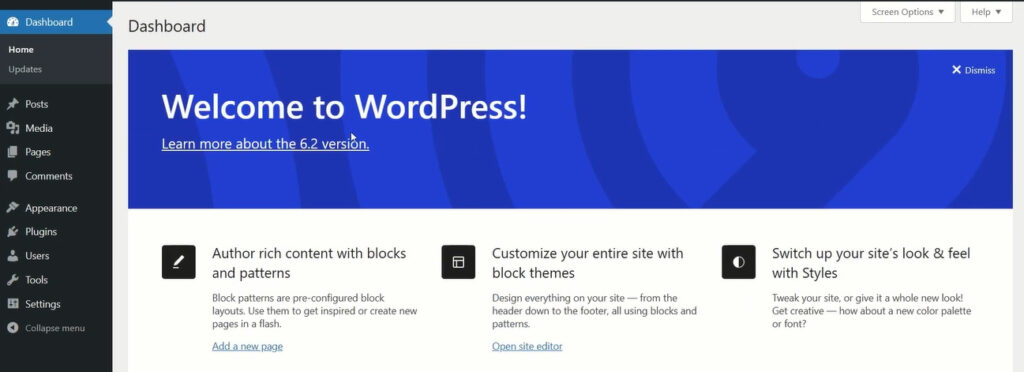
From there, you can start customizing your local WordPress site to your liking, experimenting with different themes and plugins, and adding new content.
Bottom Line
With MAMP, you now have a local server environment where you can test and develop your WordPress site without any risks to your live website. Following the steps in this tutorial, you should have a complete setup WordPress locally using MAMP and solid foundation for building and customizing your WordPress site. Keep experimenting, and enjoy the process of creating your perfect website!
Leave a Reply