
Are you ready to locally setup WordPress using WAMP to unleash your creative potential?
Look no further than WAMP!
The perfect software solution with It’s powerful combination of Windows, Apache, MySQL, and PHP. This provides an optimal environment for WordPress developers and enthusiasts to check and create custom new themes, plugins, or any new feature without any risk.
It’s the ultimate choice for offline business creation in which you don’t need any internet connection and any webhost, work from it with the comfort of your computer.
So, let’s head over to the step-by-step process, from installing the WAMP to launching your WordPress site.
Step #1: Download the WAMP Server
To begin setting up WordPress locally using WAMP, take the initial step of downloading the WAMP server from It’s official website.
Visit here: https://www.wampserver.com/en/
Now hit enter on “Start Using WAMP Server.”
This takes you to the download page:
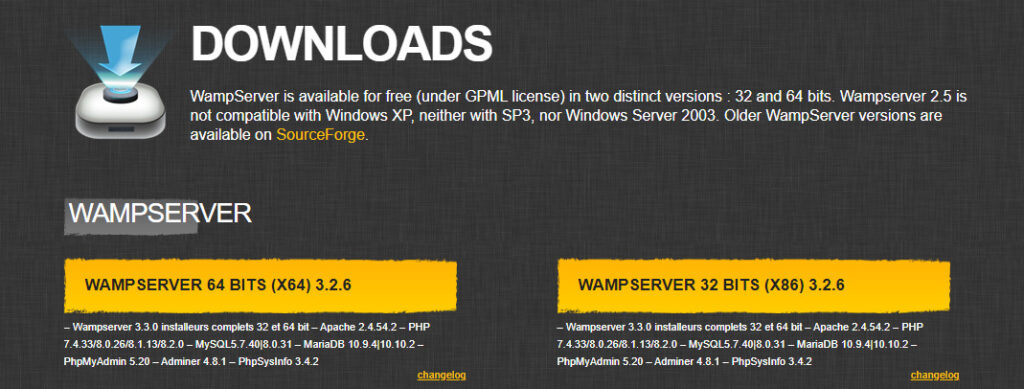
Here you can see there are two versions to download: (WAMP SERVER 64 BIt’s (X64) 3.2.6 and WAMP SERVER 32 BIt’s (X86) 3.2.6.
But, It’s essential to download the correct version of the WAMP server that is compatible with your operating system, to ensure optimal performance.
 If you prefer to use a different tool for setting up WordPress locally? There are other options available, such as MAMP and Docker. If you’d like to learn more about these tools, check out our posts on:
Step #2: Install WAMP
Hit enter on the installation file to choose “Run as administrator.”
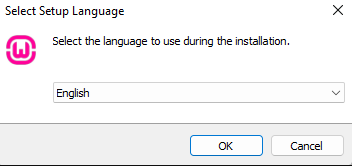
Select your preferred language from the available options to begin the installation process.
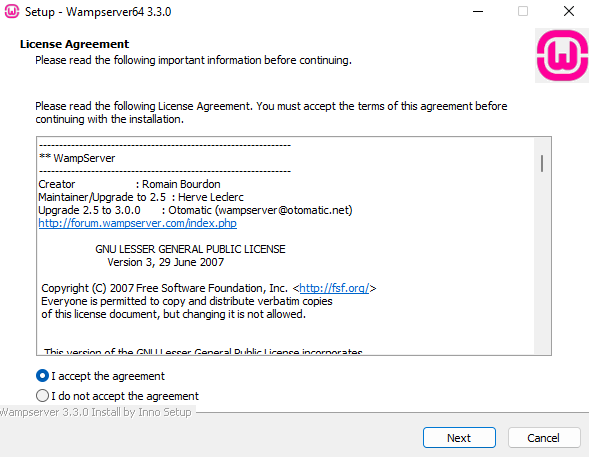
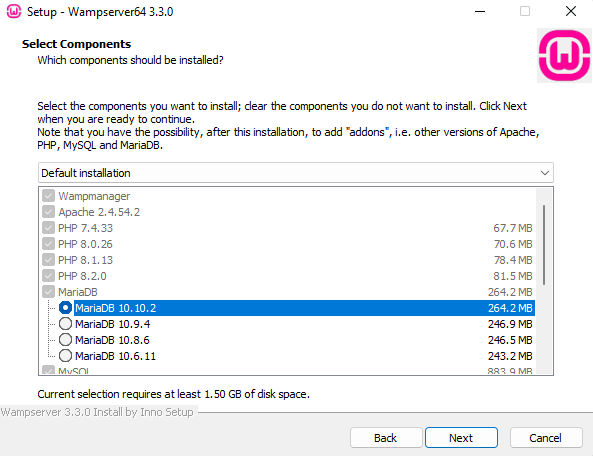
The following image will guide you through the steps necessary to complete the installation. These steps are designed to be user-friendly and easy to follow, so you should have no trouble installing the software. Just click on “next” by accepting the agreement.
In the next step, specify the directory you wish to install the software and store all associated files.
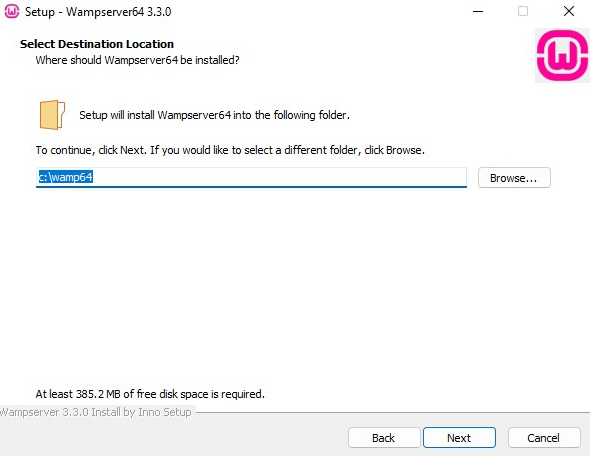
As previously stated, the default installation drive and directory for WAMP is “C:\WAMP64”. If you have downloaded the 32-bit version of the software, the designated directory will be “C:\WAMP32”.
It is recommended to leave the values in the above window at their default settings.
Go ahead and hit on “next.”
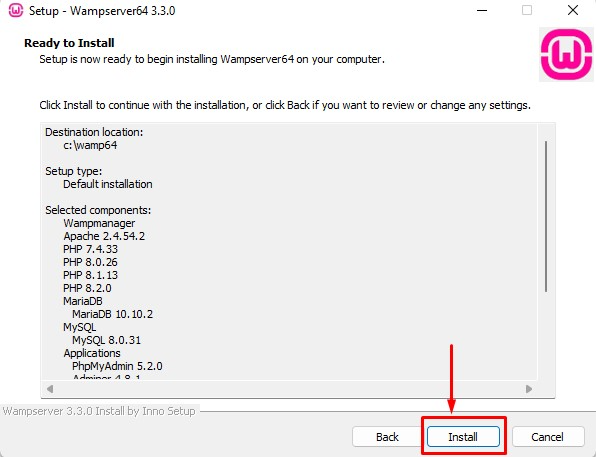
The software is now prepared for installation, and you will be presented with a summary of various installation details, such as the destination location, setup type, and selected components.
To initiate the installation process, kindly click on the ‘Install’ button.
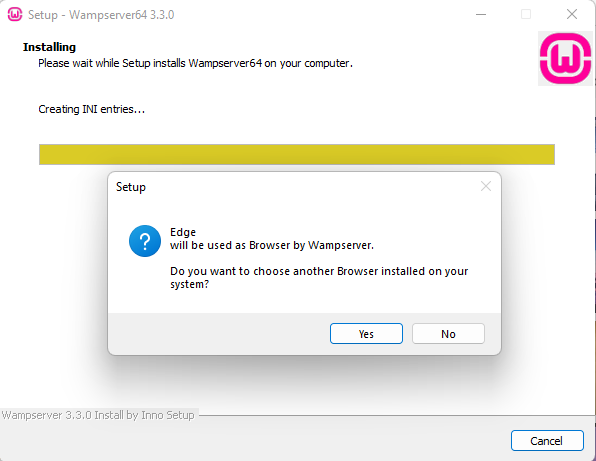
As part of the installation procedure, you will be prompted to specify the location of your preferred web browser.
By default, the installation will set Edge as the default web browser. However, if you wish to change the default browser to Google Chrome or any other compatible web browser, you can locate it in the Program Files directory on your computer.
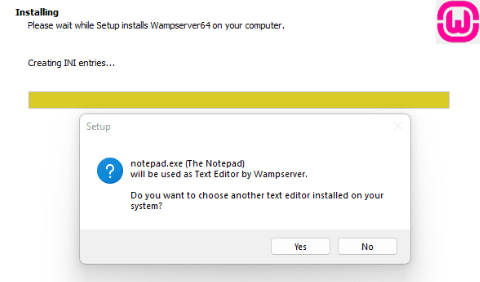
Subsequently, you will be prompted to specify your preference for using Notepad with WampServer.
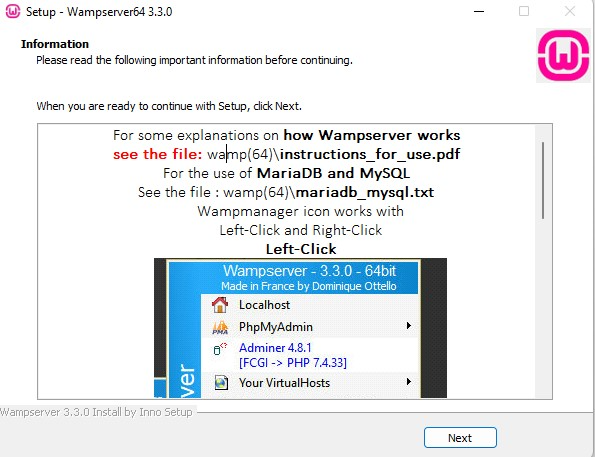
Following this, the setup wizard will provide an overview of the functionality of WampServer. Please click on the “Next” button to proceed.
Congratulations, the installation of WampServer on your Windows device is now complete. To exit the setup wizard, click the ‘Finish’ button.
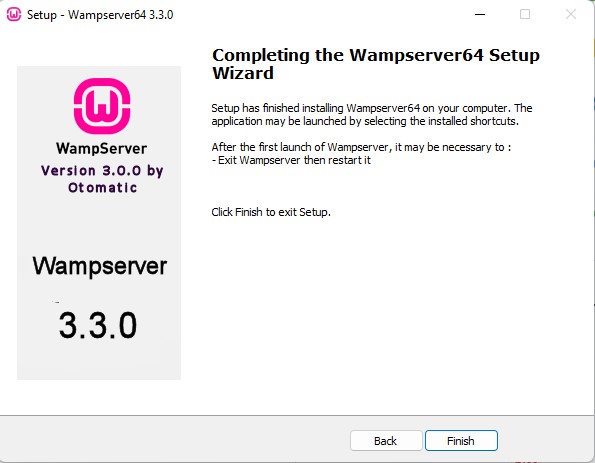
After successfully installing WampServer, you may initiate the application by launching it from either the desktop shortcut or by accessing the designated installation directory.
Step #3: Set up PHPMyAdmin
Upon launching WampServer, you will notice an icon alongside other icons in the lower-right corner of your screen. Clicking the WampServer icon will reveal a menu from which you can select phpMyAdmin – a web-based application for managing MySQL databases.
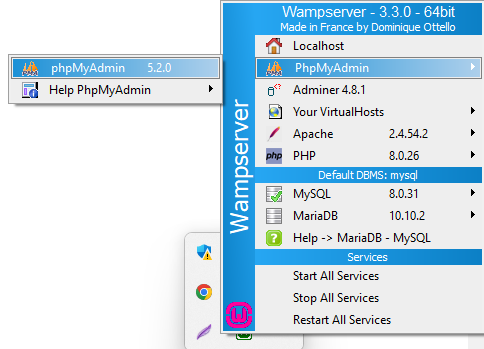
It is important to note that a red or yellow WampServer icon signifies that the services (i.e., Apache, MySQL, PHP) are not running. Before setting up the database, click the icon to start the necessary services.
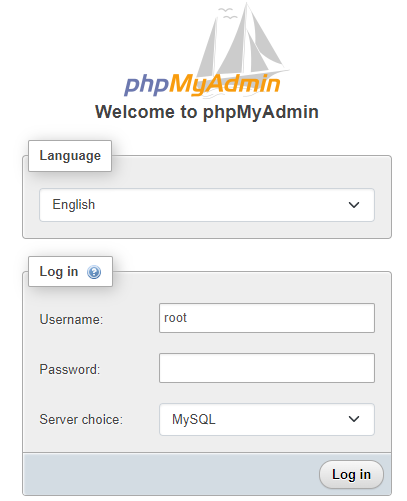
Now by clicking on “PHPMyAdmin,” you will be directed to the phpMyAdmin login screen in your web browser. To access your localhost phpMyAdmin, simply input “root” as the username and leave the password field blank, as these are the default login credentials.
Step #4: Create a New Database
After successfully logging in to phpMyAdmin, navigate to the ‘Databases’ section to create a new database for your WordPress installation. You will be prompted to provide a name for your database, and we suggest selecting a descriptive yet straightforward name. Once you have inputted the desired name (We chose to name our database “MyBlog”.)click the ‘Create’ button to initiate the database creation process.
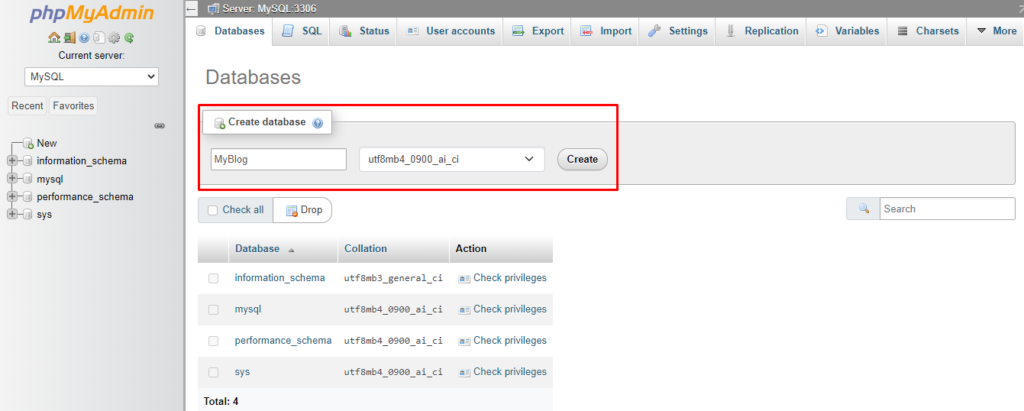
Your database is now fully prepared.
Step #5: Download the Latest Version of WordPress
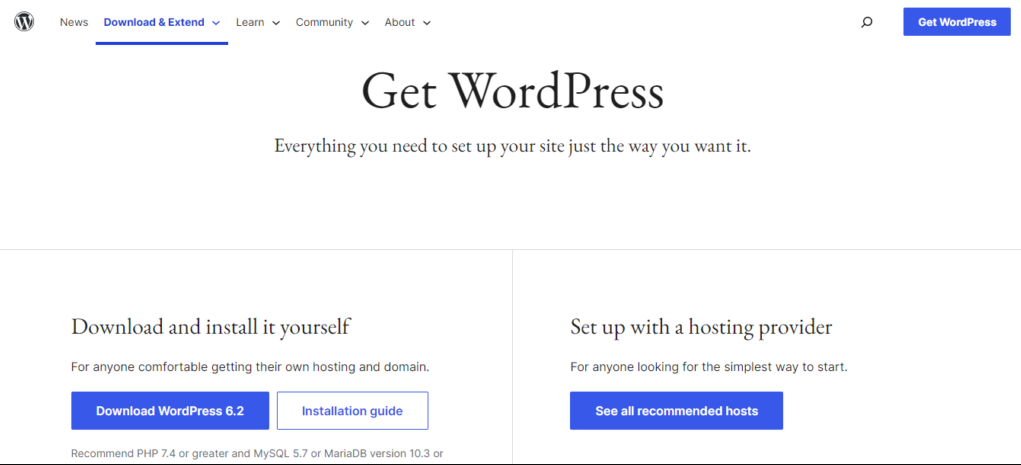
To obtain the most recent version of WordPress, navigate to the official website and select the option to download the software as a compressed zip file. Simply click on the “Download WordPress 6.2” button to initiate the download process, and the latest version of WordPress will be automatically saved to your computer’s storage.
Now here’s the zip file you will get after downloading:

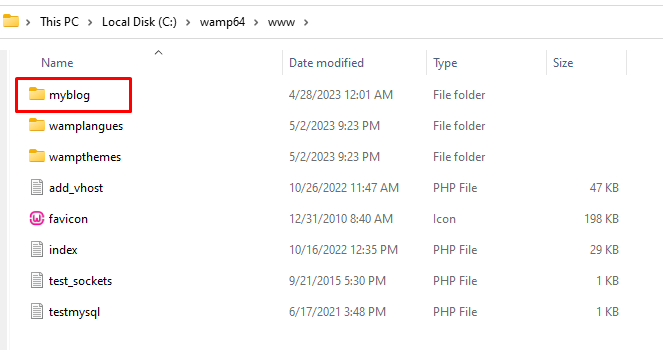
Keep the zip file safe as needed in the next step. Extract the zip file and move the folder to the WAMP directory. Now because I installed my wamp into the “C” folder so am going to paste wordpress folder into the wamp >>www folder.
You can rename the default ‘wordpress’ folder to a name of your choosing, such as ‘myblog’ or ‘testsite’. Choosing a name that is easy to re is essential, as it will serve as the URL for your local WordPress site.
For this tutorial, we have renamed the folder from ‘WordPress’ to ‘myblog.
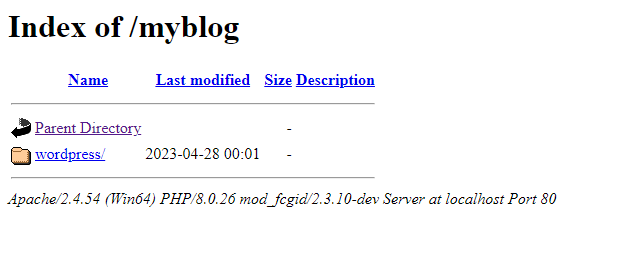
Step #6: Install WordPress
Now navigate to: http://localhost/myblog/. Click on “wordpress”.
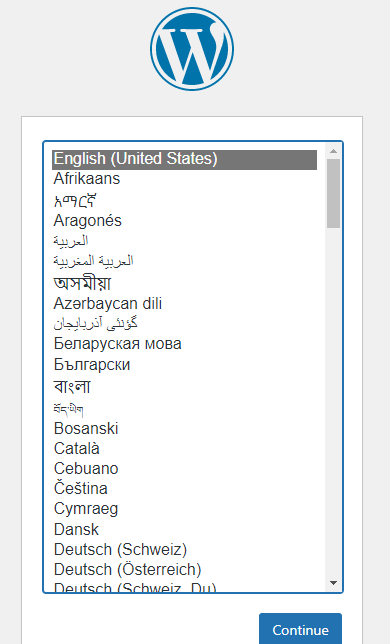
Select your desired language and hit on continue.
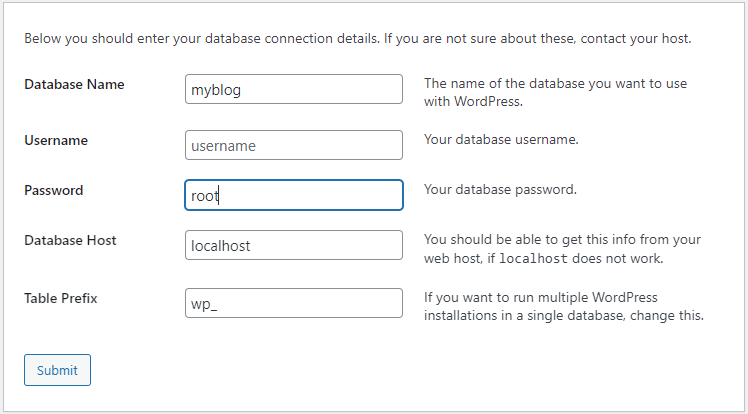
Next, you must provide specific details regarding your database, including its name, password, username, table prefix, and host. Ensure that the database name you enter here corresponds with the name you specified during installation.
For example, if you named your database ‘myblog,’ you should enter that name. The username required for database access will typically be ‘root,’ and the password field may be blank.
You should keep the default settings for the database host and table prefix fields unless you have a specific reason to change them. These parameters are used to define your database server’s location and specify a prefix for database tables, respectively.
By providing accurate database details, you can ensure a smooth installation process and get your website up and running quickly.
Next, you will be directed to the installation page, where you can initiate the process by clicking the “Run the Installation” button.

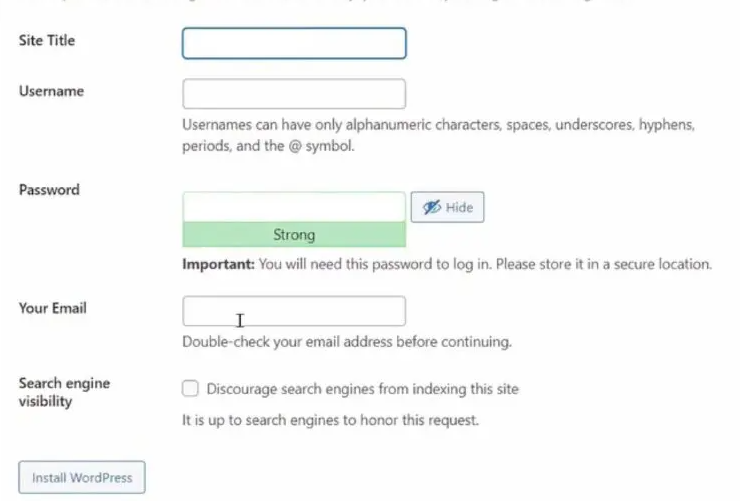
It’s time to provide all the information, such as site title, username, and password.
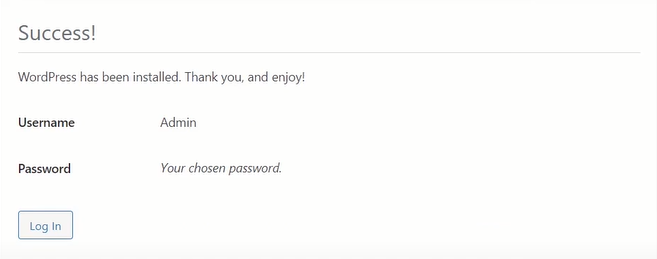
Now we have installed our WordPress successfully.
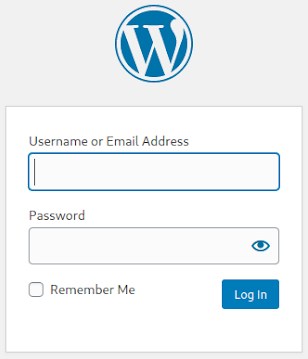
Step#7: Log In to Your WordPress Site
Hit on “Log In” and enter the username and password there.
In a few seconds, you will be seamlessly redirected to the WordPress dashboard.

Once you have successfully set up your local WordPress site, you can begin to customize it.
Bottom Line
Locally setup WordPress using WAMP is a straightforward process that can be accomplished in seven simple steps. By following this method, you can create a local environment for testing and development without needing an internet connection or a live web server. This approach provides a safe and secure way to experiment with different themes, plugins, and settings and can help you streamline your workflow and optimize your website’s performance.
Leave a Reply